Imagine being able to quickly and easily delete blank rows in Google Sheets without having to manually select and delete them one-by-one. Wouldn’t that be great?
Fortunately, there is a way to do it!
In this article, we learn how to delete blank rows in Google Sheets by using four different methods. Whether you have a large Dataset filled with empty rows or just a few, this guide will walk you through the steps to quickly delete them.
Removing Blank Rows with Filter option
The Google Sheets Filter option is very handy when you need to filter out data based on certain criteria.
Using this option, you can easily filter out all blank rows in your selected dataset. Once that’s done, you can simply select all of the blank rows from the filtered range and delete them all at once!
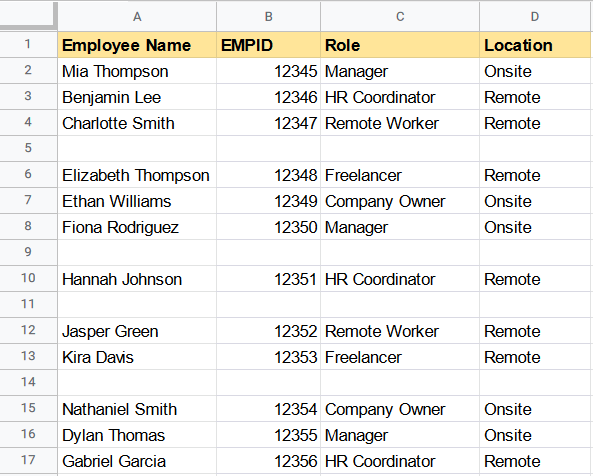
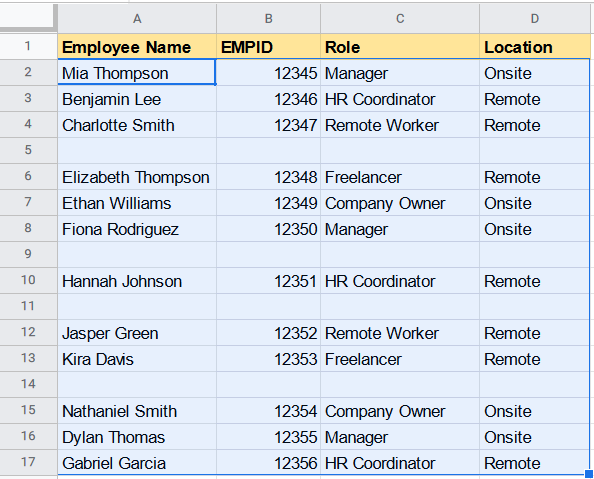
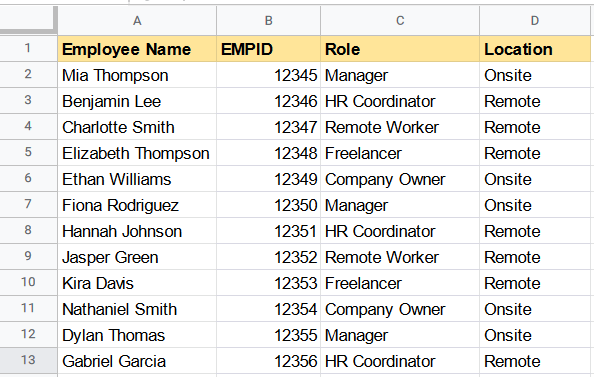
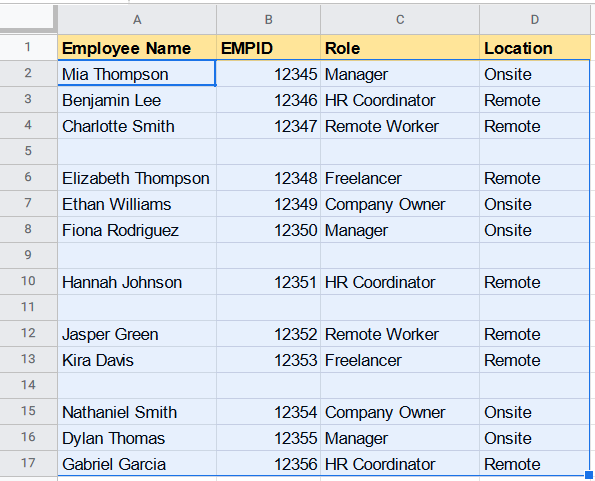
Let’s take the below dataset as an example and see how to delete empty rows using the filter option.
Steps:
- Select the entire dataset or range from which you want to delete the empty rows
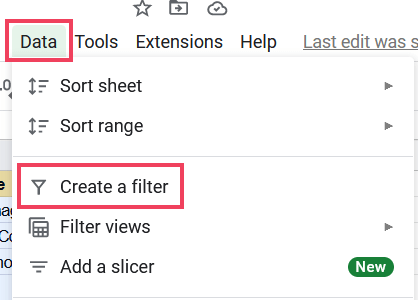
- Now, click on the ‘Data’ menu and select the ‘Create a filter’ option from the drop-down list. This will add a filter icon on the top right of each column in your Selected dataset
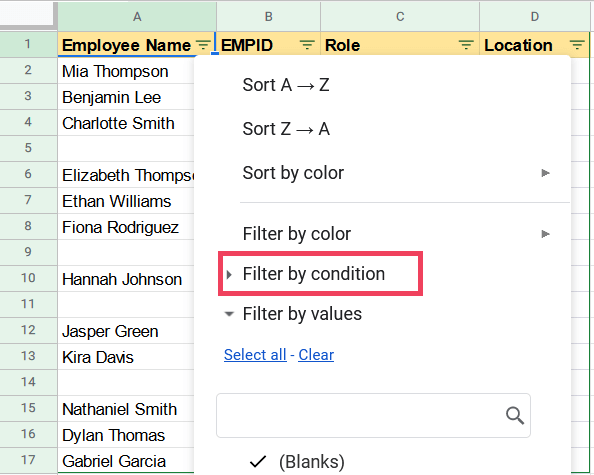
- Now, Click on the filter icon of any one of the columns in your filter range. This will open the filter drop-down for that column
- From the filter drop-down, select “Filter by Condition” option
- Now, Select the “is empty” option from the condition drop-down
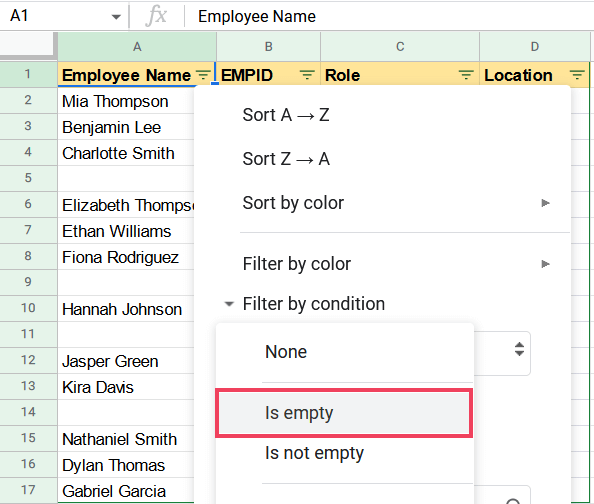
- Finally, click on the OK button to apply the filter
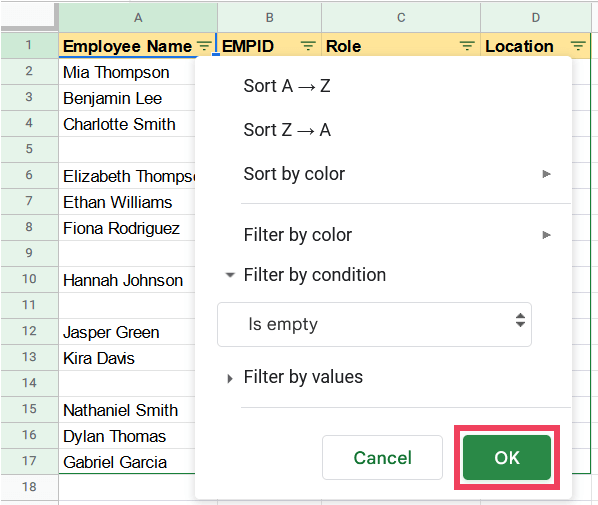
- This will filter out all the blank rows from your dataset. All the non-empty rows will be hidden

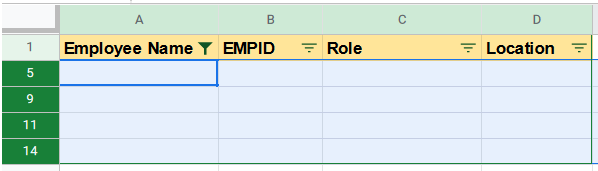
We have successfully filtered out all blank rows, now we need to delete them.
To do this, follow the below steps:
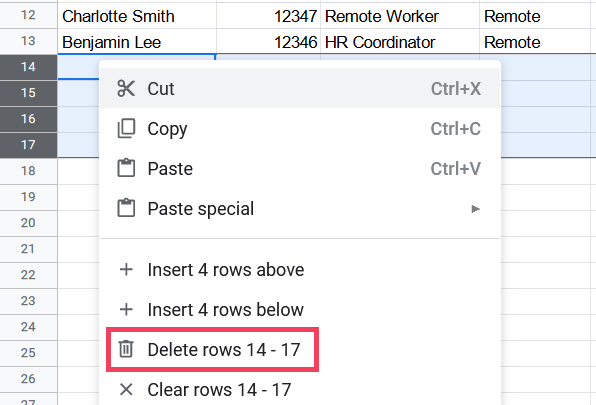
- First, we need to select every row that appears in the filtered range
- Now Right-click anywhere on selected rows and select Delete Selected rows
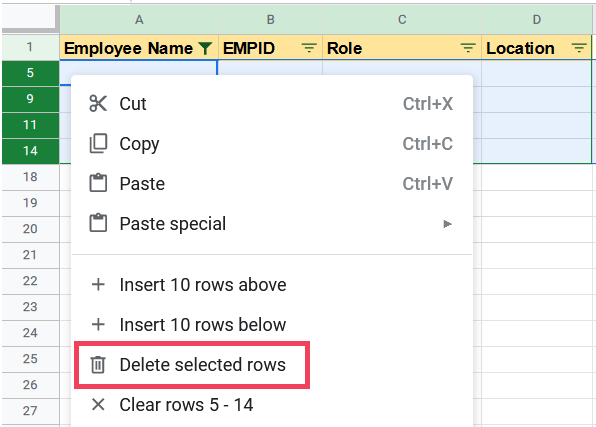
- This will delete all the selected empty rows from your range
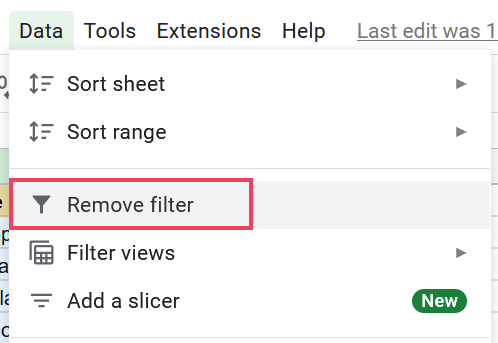
- Now, just we need to remove the filter. To do this, Go to Data > Remove filter. This will remove the filter and make all your data visible
- That’s it! You have successfully deleted empty rows from your Selected range
Note: If you follow the steps above, you can successfully delete empty rows. However, when you delete a row, every bit of data associated with that specific row will be deleted. This include data in the row outside the selected dataset.
If you just want to delete cells in blank rows from your selected dataset, then you can use the “Apps Script” Method. The “Sort” Option can also be used. We will discuss both of these methods below.
Delete Blank Rows Using Apps Script
With Google Apps Script, you can create a custom menu option that will allow you to delete all empty rows with a single click.
I have created a script that deletes the cells of blank rows in a selected range instead of deleting the entire row. This way other cells outside the range will remain intact.
This is useful if you don’t want to delete any data outside the selected range.
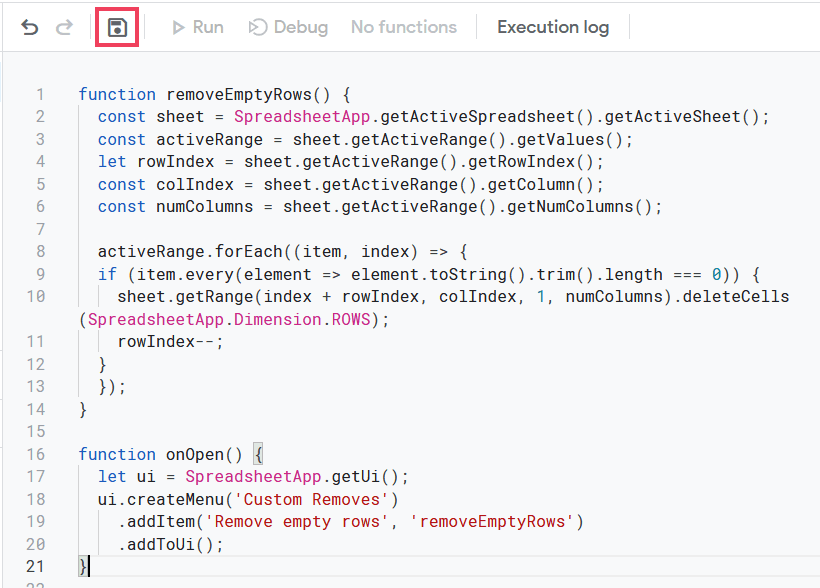
Below is the code that creates the custom menu option with the name “Remove empty Rows.”
//Code Developed by Manideep Chaudhary from https://productivesheets.com
function removeEmptyRows() {
  const sheet = SpreadsheetApp.getActiveSpreadsheet().getActiveSheet();
  const activeRange = sheet.getActiveRange().getValues();
  let rowIndex = sheet.getActiveRange().getRowIndex();
  const colIndex = sheet.getActiveRange().getColumn();
  const numColumns = sheet.getActiveRange().getNumColumns();

  activeRange.forEach((item, index) => {
  if (item.every(element => element.toString().trim().length === 0)) {
    sheet.getRange(index + rowIndex, colIndex, 1, numColumns).deleteCells(SpreadsheetApp.Dimension.ROWS);
    rowIndex--;
  }
  });
}

function onOpen() {
  let ui = SpreadsheetApp.getUi();
  ui.createMenu('Custom Removes')
    .addItem('Remove empty rows', 'removeEmptyRows')
    .addToUi();
}
Follow the steps below to add the script to your Google Sheets document.
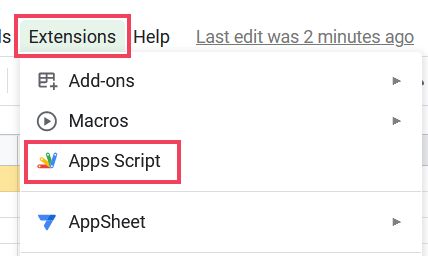
- Hover over menu and click on Extensions > Apps Script
- Paste the above code into the script editor and click on “save project” icon
- Now, close the script editor and go back to your Google Sheets document and reload it
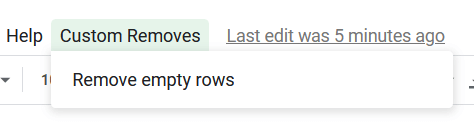
- Once you done that, You will see a new menu option “Custom Remove” along with the sub-menu “Remove empty Rows”
Follow the steps below to delete empty rows using the custom menu option:
- Select the Data range from which you want to delete empty rows
- Click on the Custom Remove menu and select the “Remove empty rows” option
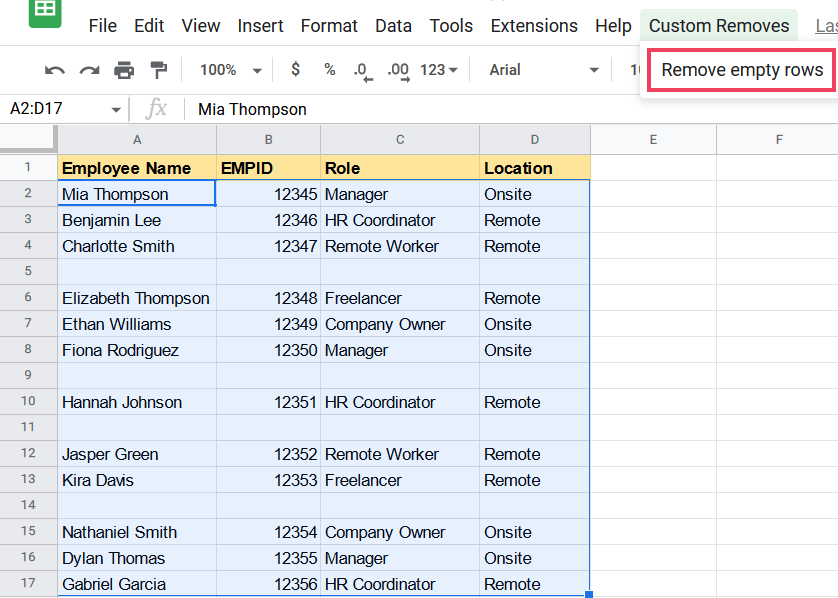
- This will execute the Script and delete all the empty rows from the selected data range
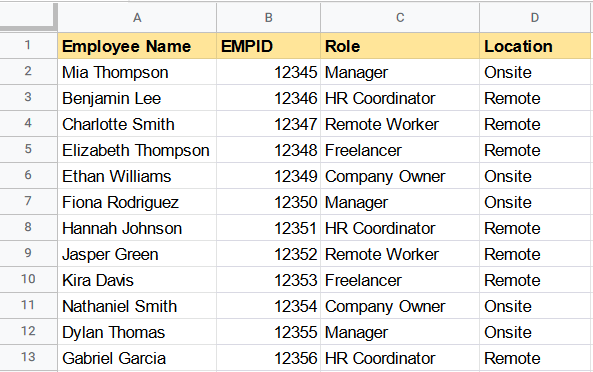
Once you complete the steps, all empty rows from your selected Dataset will be deleted.
Working of code
The above code creates a custom menu item with the name “Remove empty Rows”. When this menu item is clicked, it calls a function called removeEmptyRows().
This removeEmptyRows() function first gets the values in the active range of the active sheet. Then forEach() method is used to loop through each row in the active range.
Inside the loop, every() method is used to check if every cell within the row is empty after being trimmed. If the row is empty, the function deletes all cells of that row by calling the deleteCells() method and reduces the row index by 1 to account for the deleted row.
This process is repeated until all empty rows are removed from the active range.
Delete Blank Rows Using an Add-on
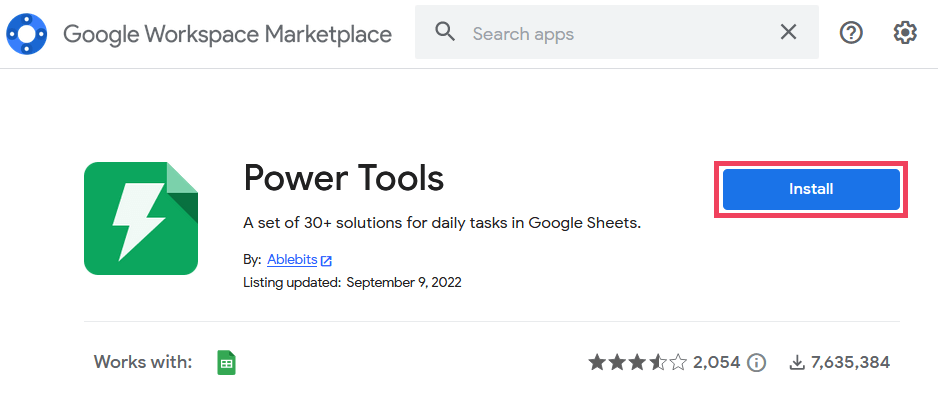
Another way to delete blank rows from a dataset is by using a Google Sheets add-on. There are a few Google Sheets add-ons available for this purpose. I recommend the Power Tools add-on.
Power Tools is an advanced add-on for ablebits that has full of features, one of which can help to delete blank rows in your dataset.
How to Install a Power Tools add-on
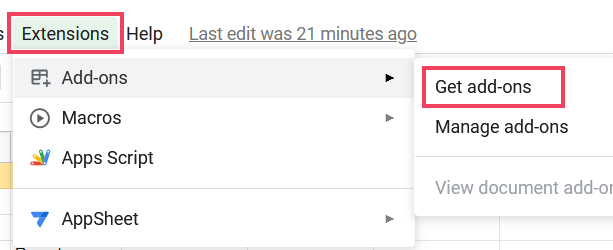
- Click the Extensions menu
- Select Add-ons from the dropdown menu
- Next, Click “Get Add-ons” from the List
- This will open the Addons Marketplace window. In the search box, type in “Power Tools” and press enter
- The Power Tools add-on will appear in the search results. Click on the “Power Tools” add-on

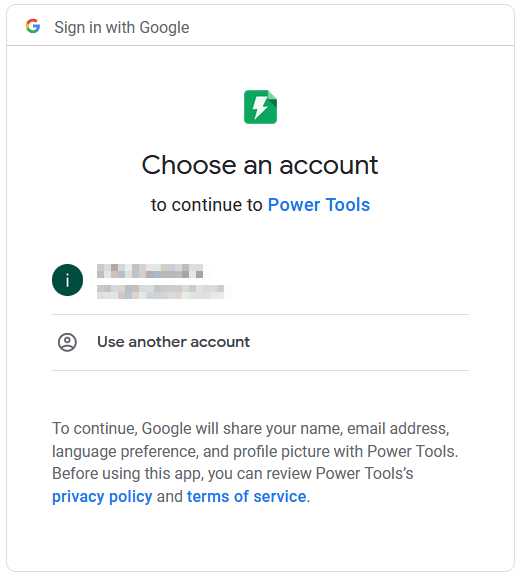
- Click the Install button, then click Continue
- Now a pop-up window will prompt you to log in to your Google account. If you have multiple accounts, be sure to choose the one associated with the Google sheets document you’re working on
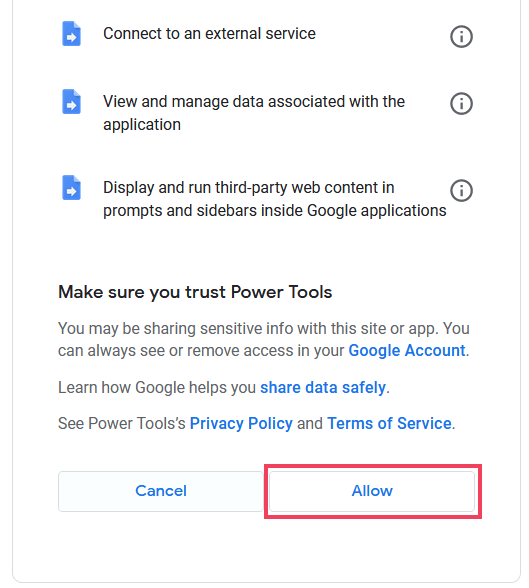
- Once you’ve selected your account, you will be asked to approve the permissions requested for the add-on. Just click the “Allow” button
- Once the add-on is installed, you will get a confirmation message
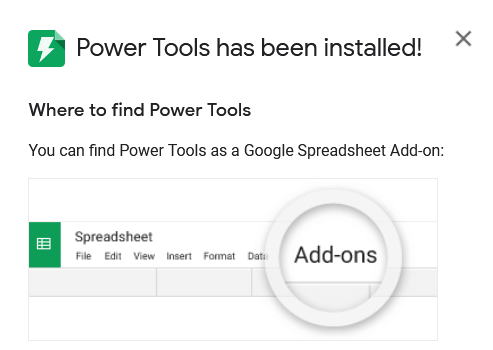
Once you have installed the Power Tools add-on, you can use it to delete blank rows.
Follow the steps below to delete empty rows using the Power Tools add-on:
- Select the dataset that contains the blank rows you want to delete
- Click on Extensions > Power Tools > Start
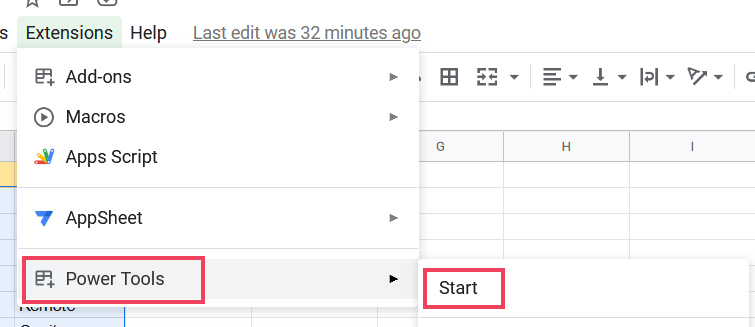
- This will open the Power Tools add-on window
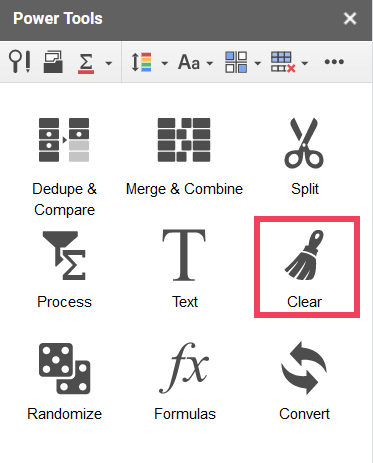
- Click on the “Clear” tab
- Select “Remove all empty rows” from the list
- Click “Clear” to start the process
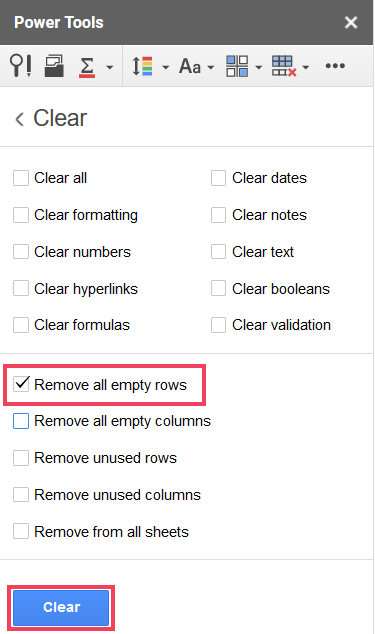
- This will delete the blank rows from your dataset and the data will be rearranged automatically
Removing Blank Rows with Sort Option
You can also use the Sort option in Google Sheets to delete blank rows from your dataset.
This method is quite similar to the first one mentioned in this article, but instead of filtering and deleting blank rows, we will sort empty rows to the bottom of the data and then delete them.
This is my least preferred method to delete blank rows, but it’s still worth mentioning.
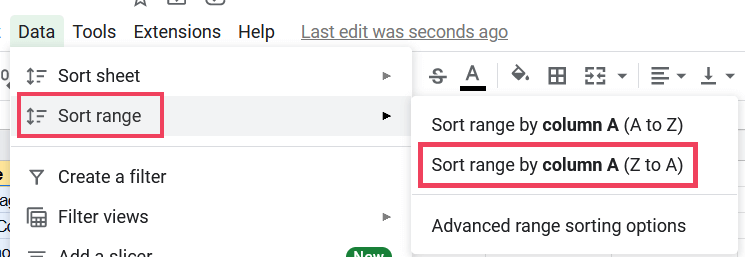
- The first step is to select the data range from which you want to delete empty rows
- Now, click the Data tab
- Click Sort Range > Sort range by column A (Z to A)
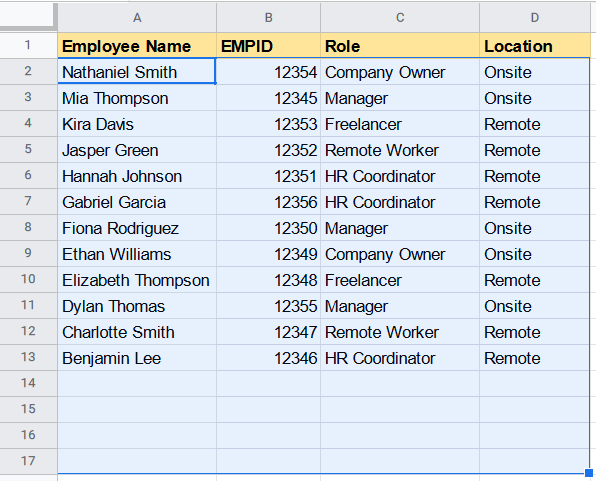
- This will sort the data in descending order and blank rows will be grouped at the bottom of your data range
- Select all the blank rows at the bottom of your data range
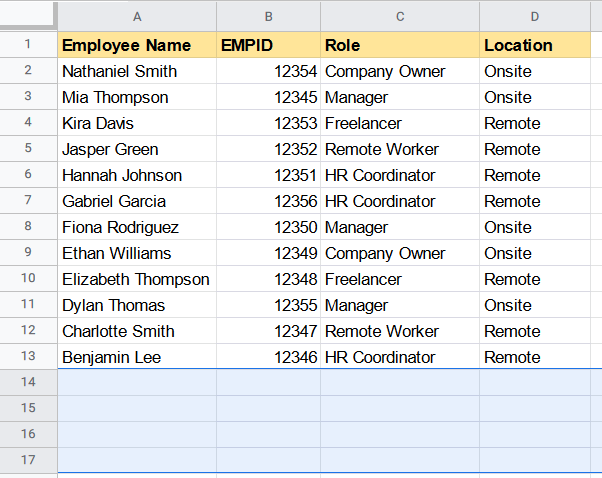
- Right-click and select delete rows from the context menu
- This will delete the blank rows from your dataset
Note: The above steps would rearrange the original order of your data. But if you do not care about the sorting order, then this method should work fine for you.
Tip: If you want to maintain the data in its original order, then I suggest adding a new column with serial numbers next to the original dataset. This way, you can sort the data back to its original order, even after deleting the blank rows.
Following the above steps will delete the entire row, including any data in a row outside your dataset range. But what if you have data outside the range and you want to delete only the blank rows in the range?
In such a case:
- Select cells of sorted range located in blank rows
- Right-click anywhere on a Selected range.
- Click on Delete Cells > Delete cells and shift up.
This way, the data outside the range will remain intact.
Hope this tutorial has been helpful.